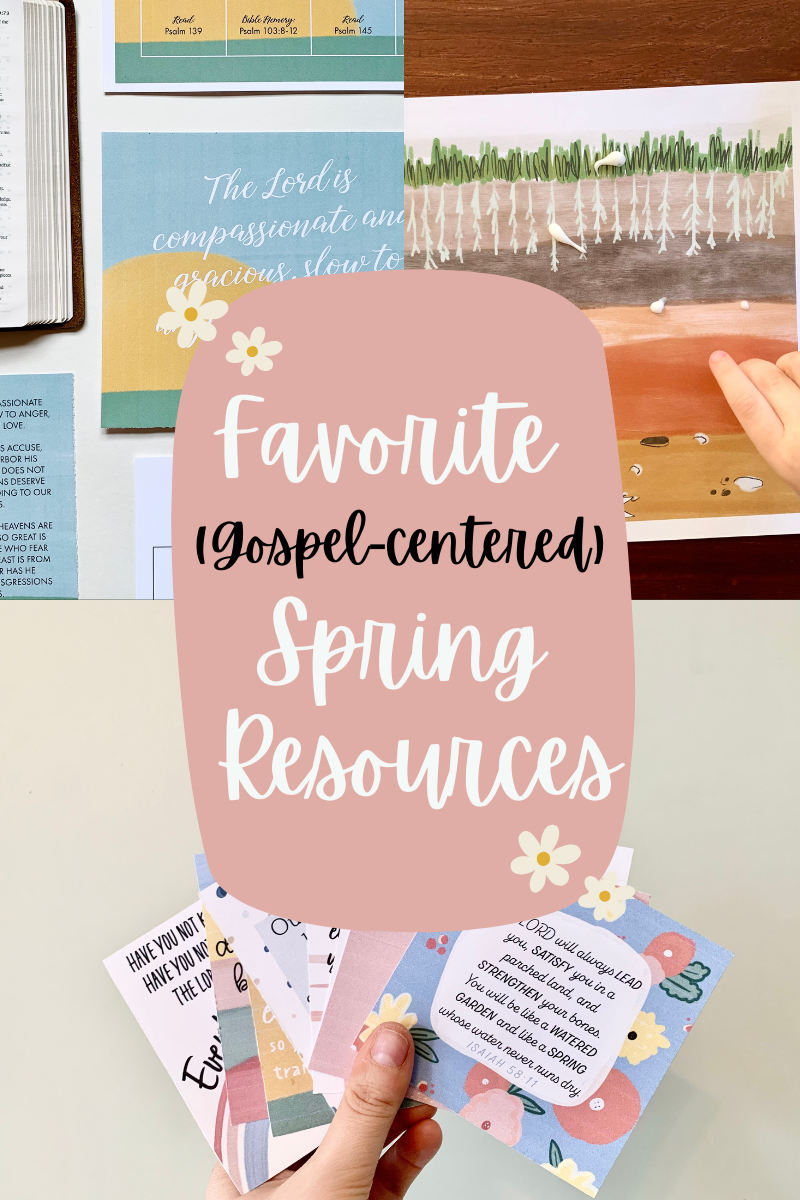
A Big List of Gospel-Centered Spring Resources
/
Here in Minnesota, we are getting a little taste of spring. And although the weatherman is telling me it will snow soon, I will enjoy all the sunny and 50 degree weather while I can. There is something about the fresh air of spring that perks me up!
As we go into this spring and Easter season, I wanted to share a few favorite shop and other resources that are sweet reminders of spring and the Gospel (which is what we get to celebrate on Easter!). For me, it’s always fun to round up some of these resources for you!
For the little ones:
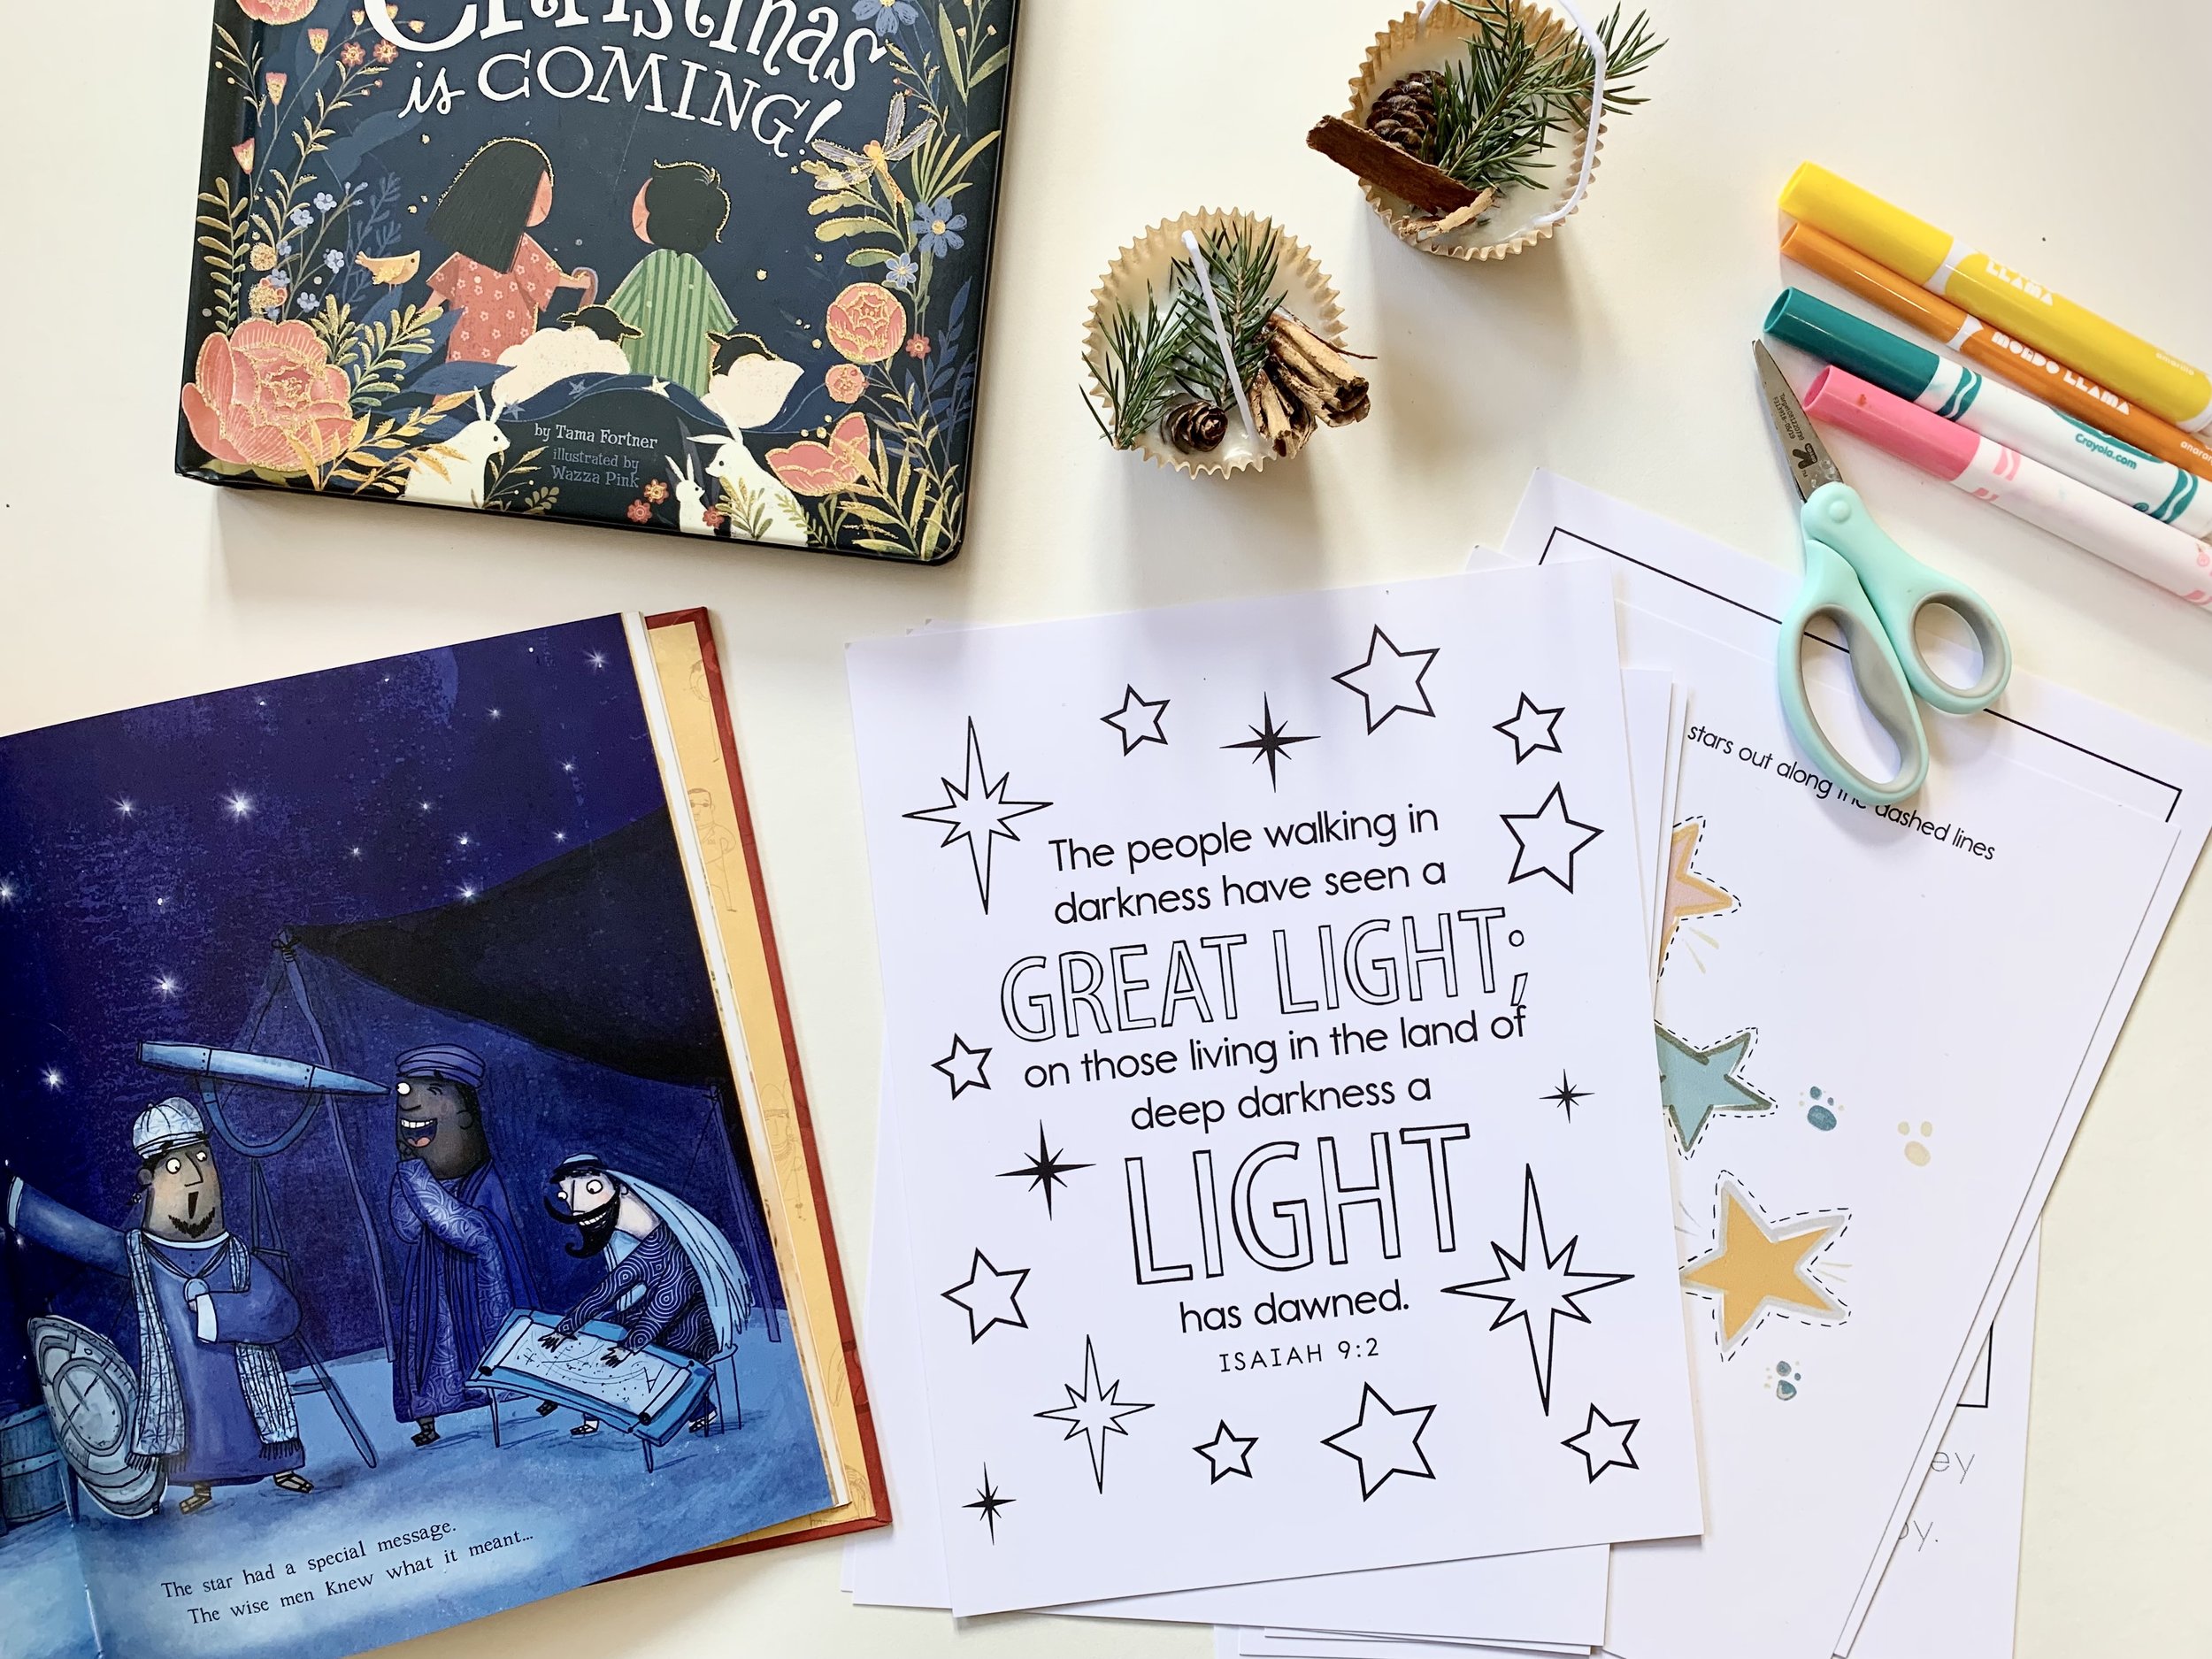
Print off these cute (and free) Easter printables and bring out the crayons. A simple activity to do!
Now that the weather is getting warmer, those nature hikes are easier to do (although maybe a bit more muddy—ha!). Download and print this simple nature hunt and take it along on a nature hike :) Ps. This is free too!
Looking for some cute Easter basket ideas? These adorable first verses cards from Tiny Theologians or this book (one of my absolute favorites!) would be lovely to include!
One of my favorite mini-units in the shop is the one taken from Matthew 6—and I think it would be a wonderful one to do during the sunny, spring days :)
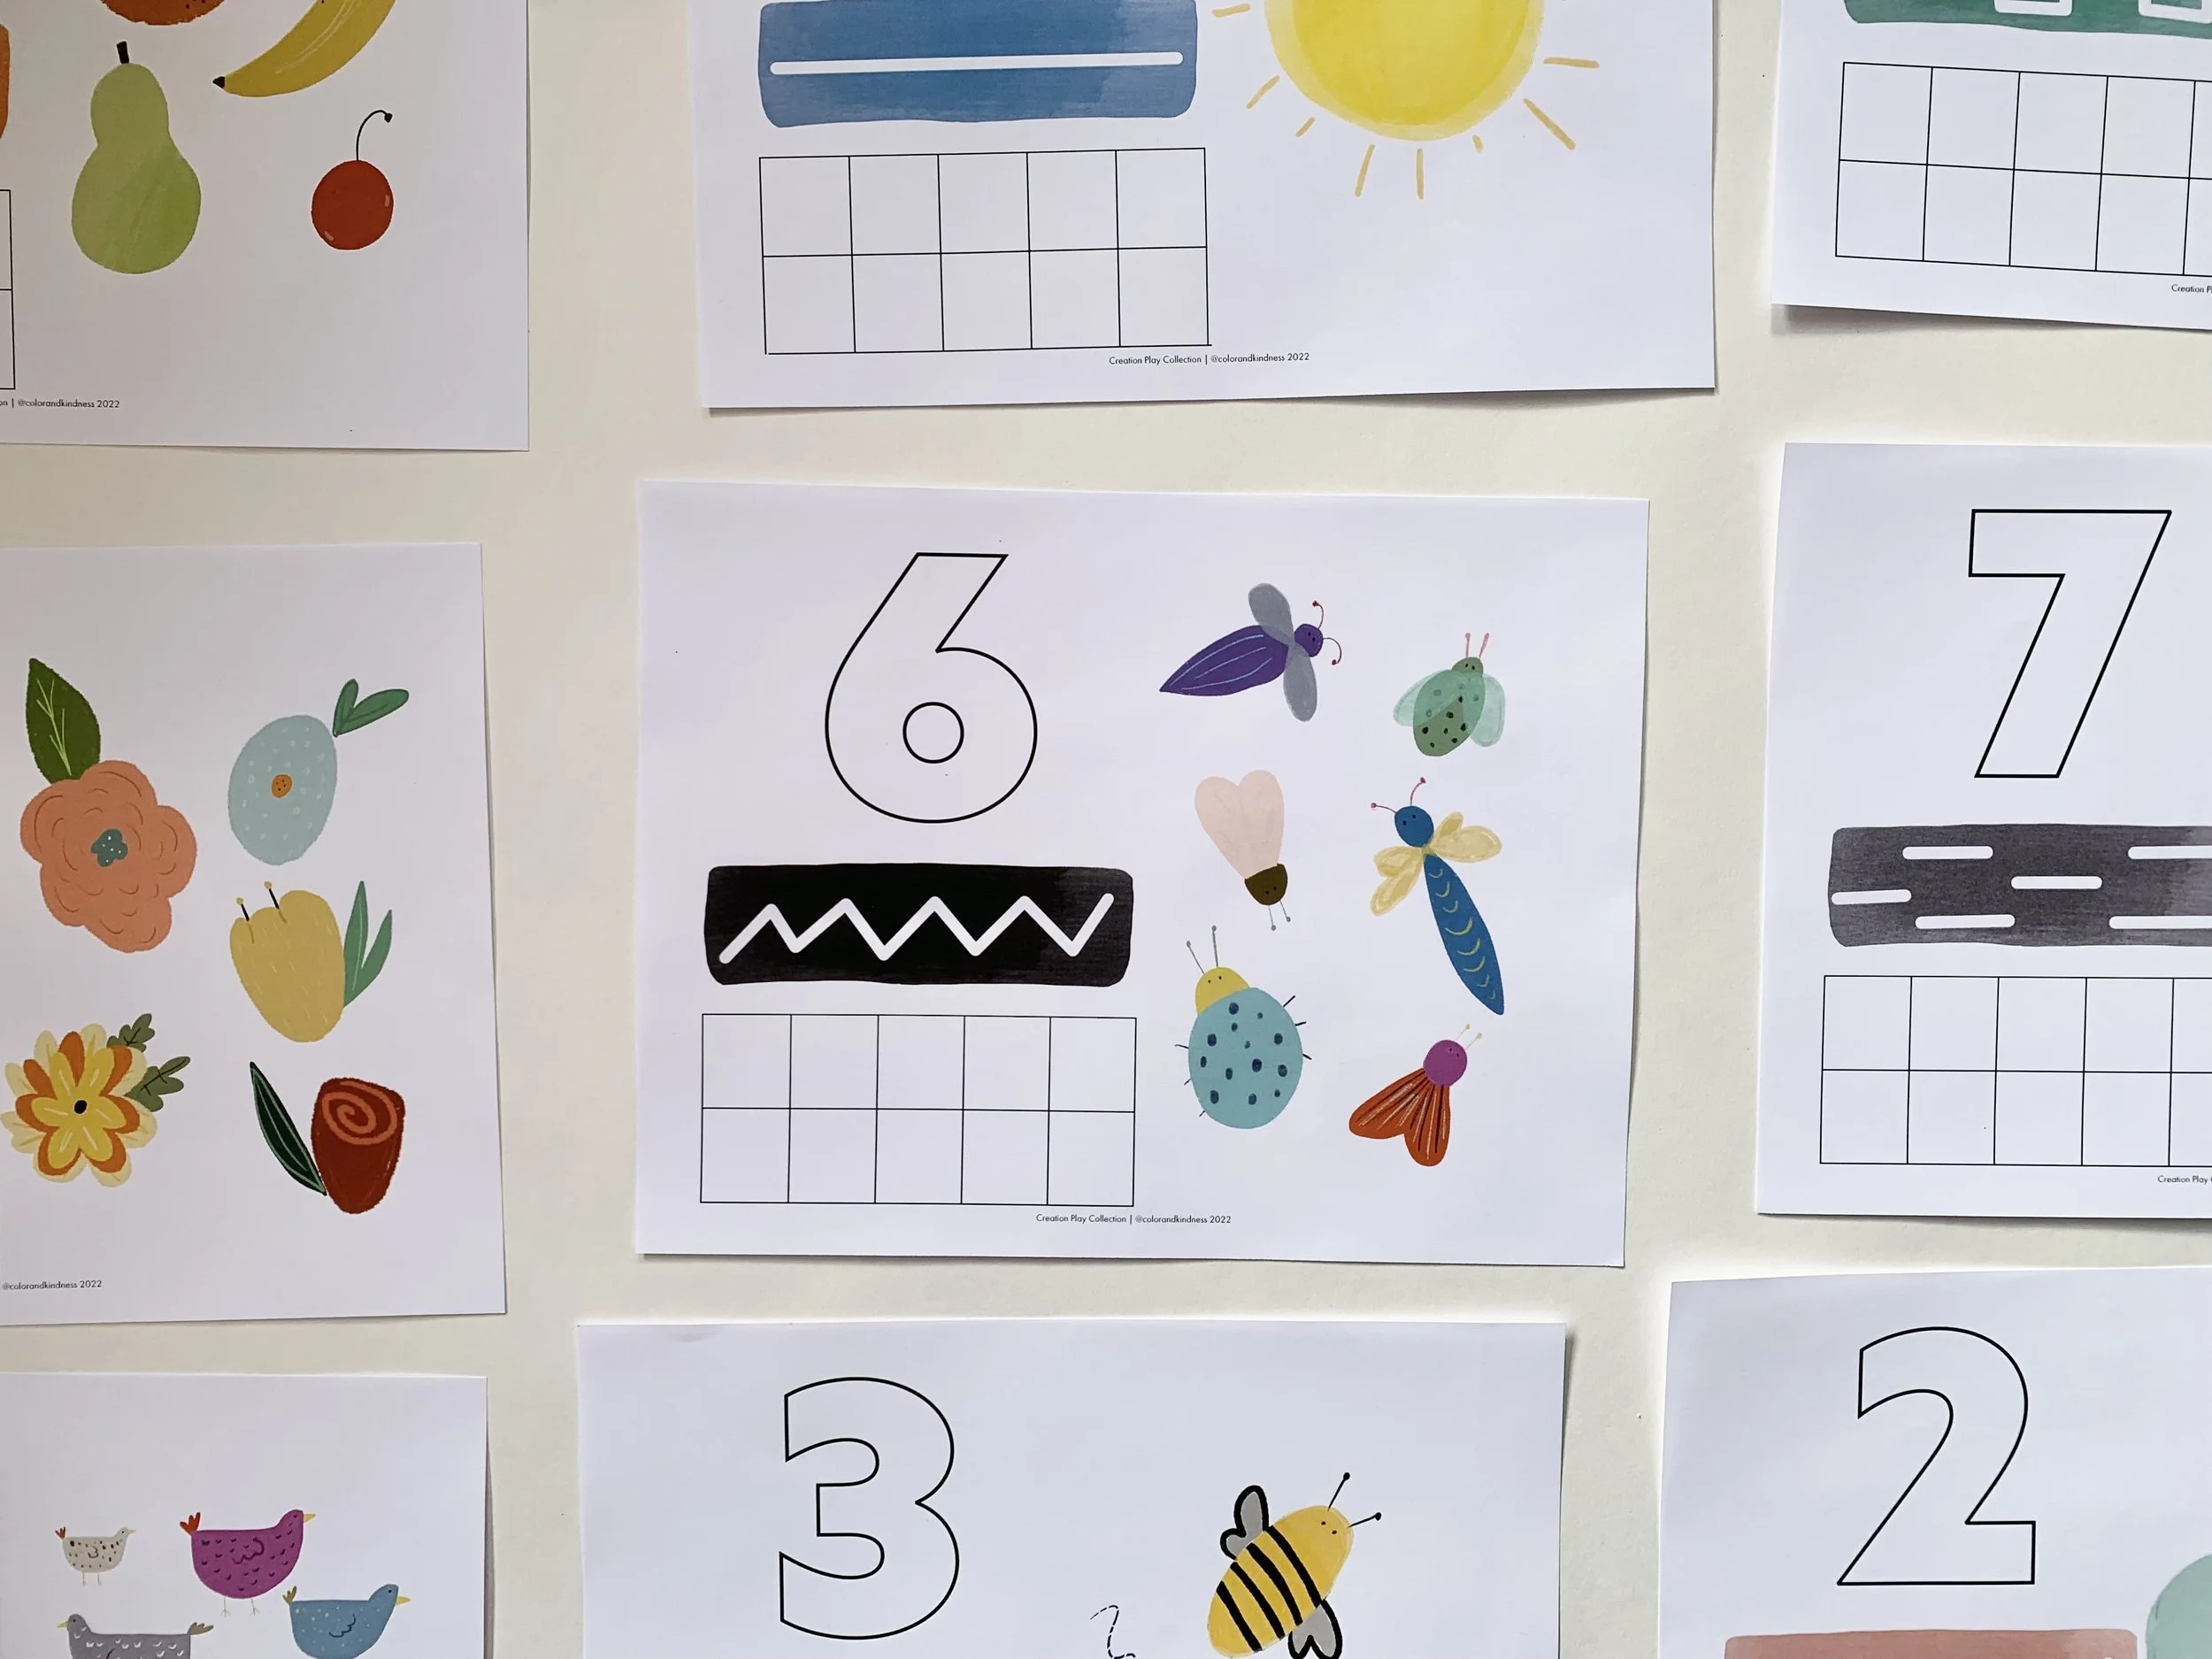
If you get a little antsy (like us!) during these warmer days, the Creation Play Pack is one of my favorite resources for adding a little play and Bible learning together. Win, win!
For the big kids + families:
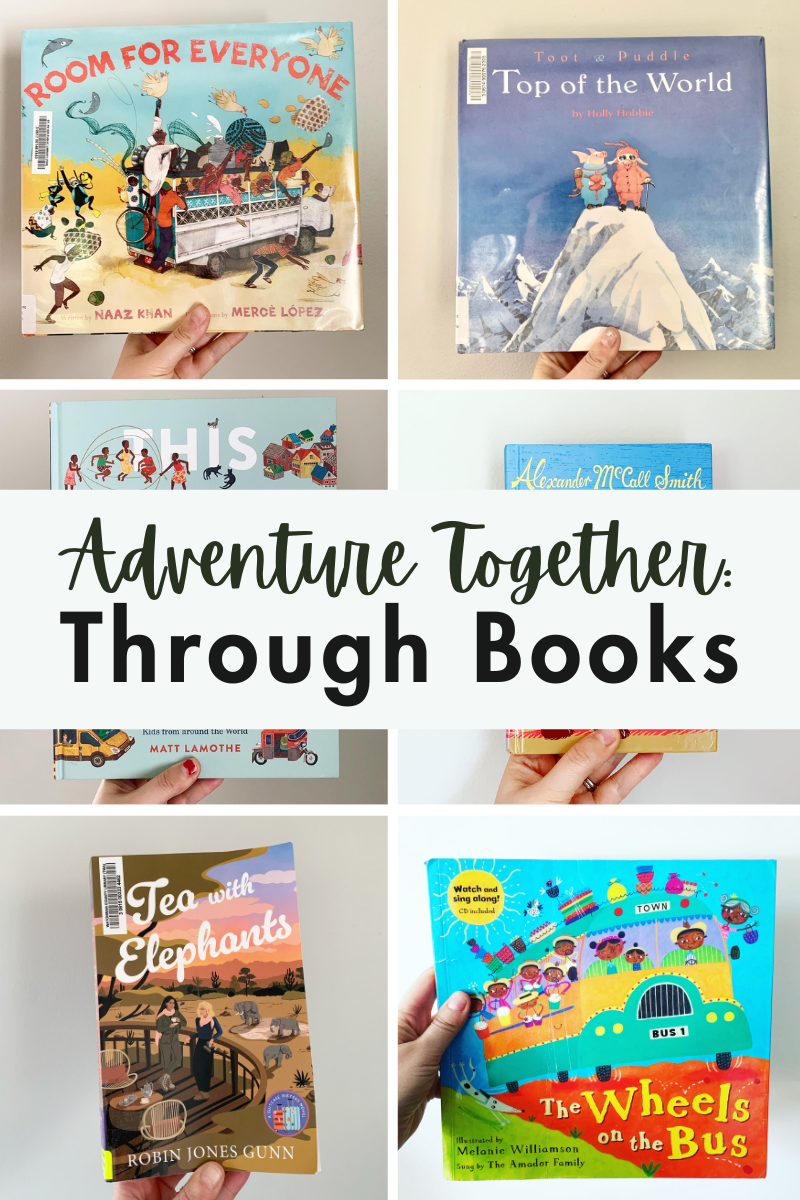
Print off this free book list for some of our favorite spring reads for kids and adults too. It’s always fun to have fresh picks at the library :)
If you aren’t using a Lent reading plan, grabbing one of these would be a simple way to start up a Bible reading plan as family. I think John a solid choice for this time of year.
Need a good book for an Easter basket for older kids? I love this book for older kiddos—we’ve loved this series!
We’ve also been enjoying Chatter Studios’ creative work with stop motion and LEGO to tell Bible stories. These are fun to watch with your kiddos, and they do a wonderful job of sharing the Bible narrative with kids.
Although this isn’t exactly a resource that is directly related to the Bible, I think this puzzle could make such a cozy family activity during the spring. As you do it, you could talk and plant those seeds of the Gospel.
For Moms:
Although I feel like I have a bounty of Bibles, this Bible is so pretty. I love that it has space for journaling—which can be so useful as you study! Wouldn’t it make a lovely gift for a friend? Or yourself?
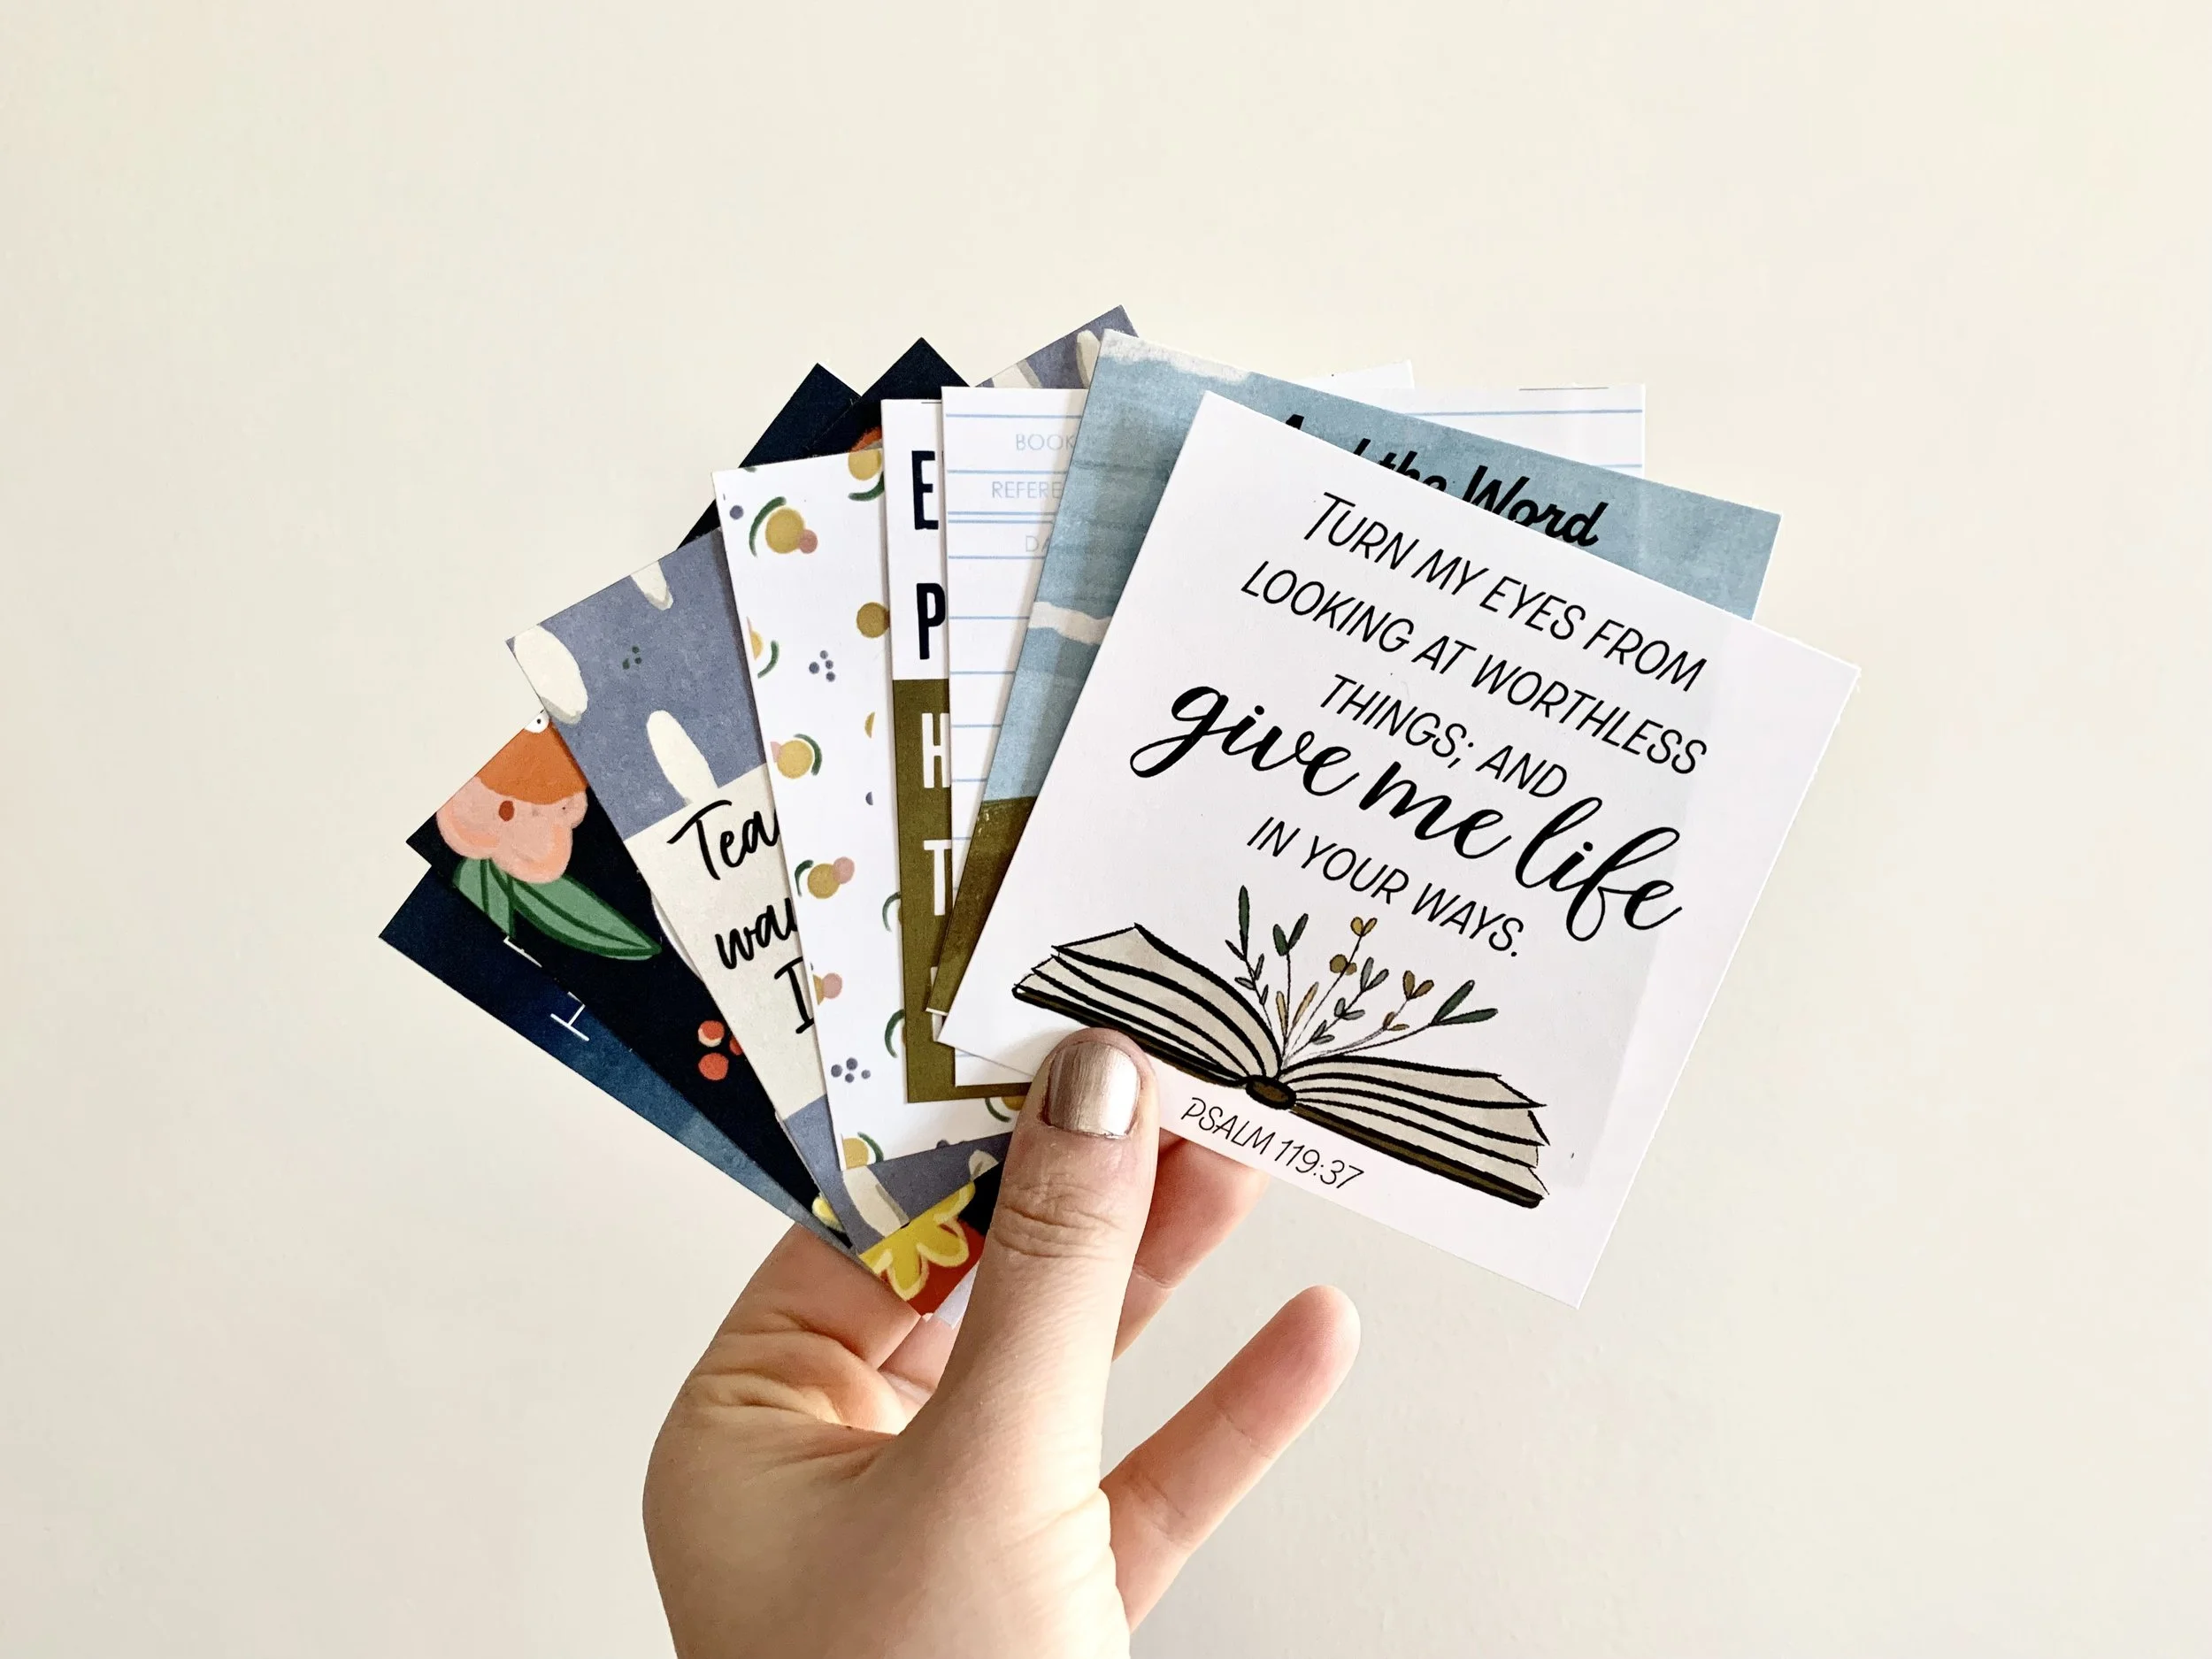
This scripture pack has so many encouraging verses for memory or just for placing around your house. And since you can print many copies—you could also gift some to a friend!
I’ve been eying these shirts for a while—and will probably grab one before the warmer weather is here to stay. Plus, I love supporting a small business when I can. Her site makes me really wish I knew how to sew more than a simple straight line ;)
If you have that itch to start spring cleaning, download and print this super simple cleaning loop printable. The discipline of stewarding God’s good gifts to us is also a way we serve the Lord and our families :) And, if you are anything like me, sometimes having a plan helps (ha!)
I hope that this little list gives you few new ideas or resources to use during the coming weeks.
Happy Spring!
—Nicole
* Ps. Some of these links are affiliate links which only means that I receive a very small commission of you purchase anything from them. But, it adds no cost to you :)